Insulate Your Home Against Energy and Financial Loss


There are a lot of different ways to insulate your home. After your Energy Assessment—a valuable first step!—Green Homeowners United will create a detailed report on your home to show the areas that most need attention.
Some people want to skip the assessment, though. For example, without basement insulation it is easy to feel that your basement wall is leaking. Green Homeowners United is here to help. (Just don’t forget about the valuable IRA rebates and incentives you may be leaving on the table.)
Whichever path you choose toward home energy efficiency, you’ll want to be aware of the different types of insulation services we offer, along with their pros and cons.
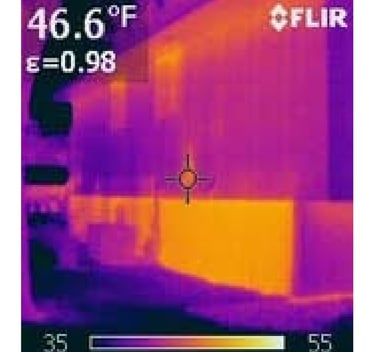

Infrared camera shows the areas of heat loss and where sealing is most important.
Basement Insulation
It may seem counterintuitive, but up to 25-30% of energy loss can be through basement cement or cinder block walls. Building science shows that significant energy leeches out when a cold outside wall has no insulation. Cement block is very porous, meaning it is easy for heat to leave your home in winter, or seep into your home during summer.
Fortunately, there’s a great solution: installing basement insulation. There are several types of insulation materials that serve different purposes depending on your needs and your home.
The Priority: Spray Foam — Rim Joist Insulation
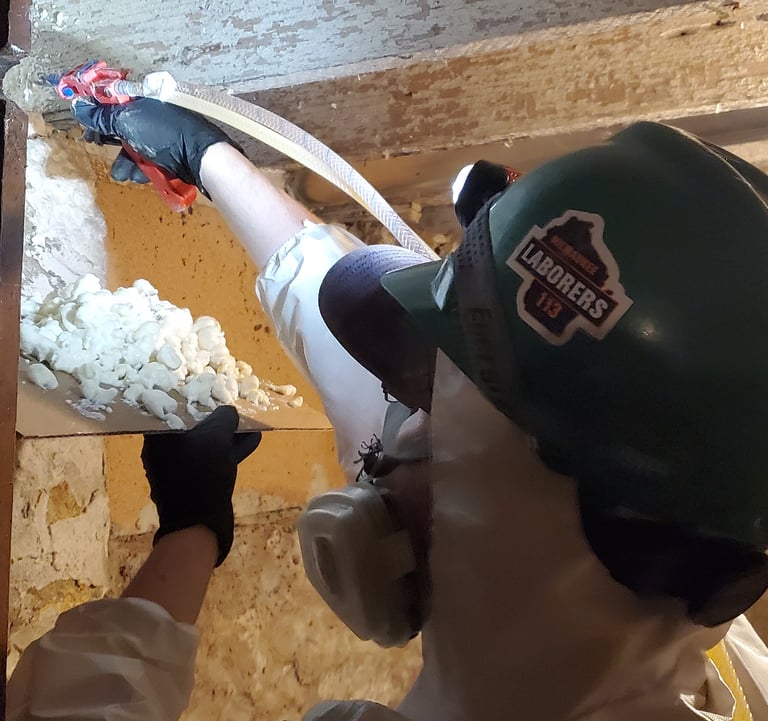

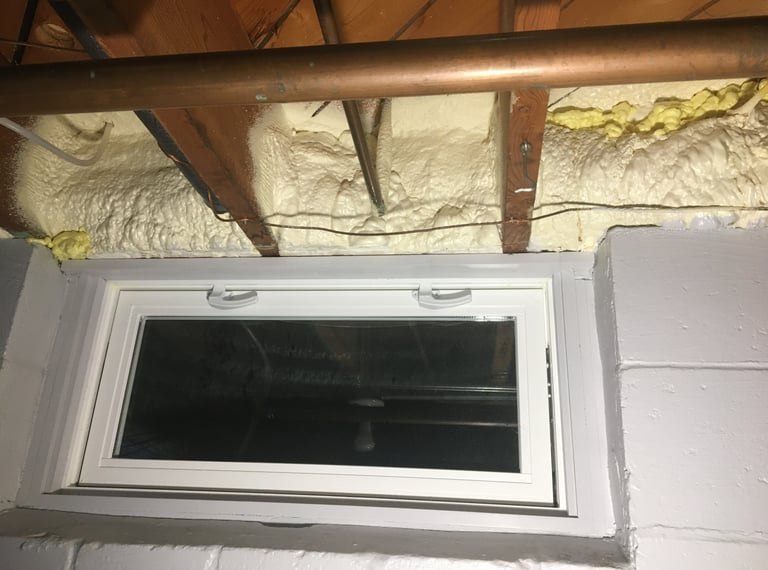
Tyler (Chief Energy Assessor) spray foaming basement rim joists and sealing gaps where energy is lost.
Rim joists are the single leakiest part of your basement and the second leakiest place in a home. The rim joist is the area between your foundation wall and your first floor, typically made out of wood. Because this area is located above ground, when it's cold out your heat will leak out. Rim joists are part of your exterior wall, and most homes built prior to 2010 do not have proper insulation in this area.
Before considering any full basement insulation options, you'll want to have your rim joists spray foamed. To meet code and U.S. Department of Energy standards, you typically need about 2" of insulation.
The energy loss from uninsulated rim joists is the most common reason that your basement feels cold and damp in the winter and humid in summer. It is a major contributor to drafts during cold windy days.

Video: Tyler explains how he identifies gaps and areas of leaks in a basement
Rigid Form - Basement Wall Insulation
Leaving your basement uninsulated is a lot like walking around in winter without shoes - no matter how many coats or hats you put on, you are still going to lose much of your body temperature through your feet! And here’s something most homeowners don’t know: Concrete and cinder block basement walls are about as insulating as a single pane of glass. That’s why additional thermal barriers are so important.
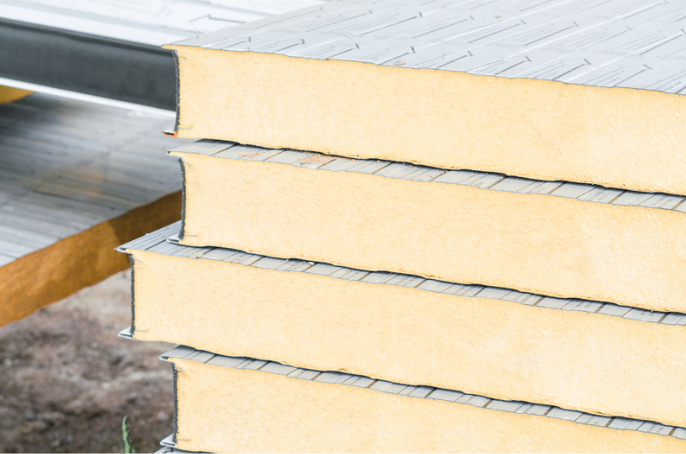
We use fire-safe white rigid foam insulation that can be left exposed and looks similar to drywall. These sheets of rigid foam board are adhered directly to the foundation and are extremely effective at protecting against heat loss.
Pros
Fast installation
Can be left exposed and looks similar to drywall, creating a finished feel for living space
Water safe, unlike drywall or fiberglass which can lead to mold in damp basements
Highly cost effective compared to finishing and drywalling
Drywall can be added later to fully finish the basement if desired
Cons
Foam must be custom ordered and fitted
Requires precision cutting around pipes, windows and other barriers
While it can be painted, a specific primer is necessary
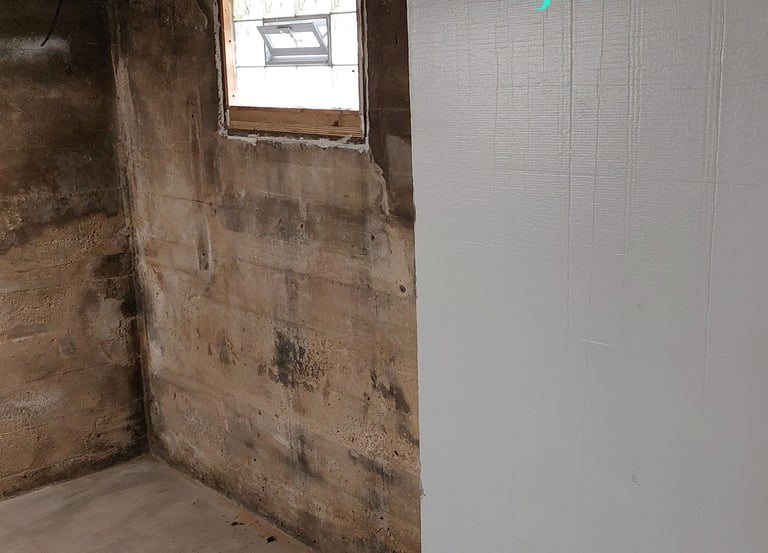

Spray Foam and Frame — Finished Basement Walls
Another way to insulate your basement walls is with framing and spray foam. The foam is cut where necessary so that drywall can be applied to the frame to finish the space. In basements with very uneven walls, this is the only option to insulate the walls.
Pros
Finishes the basement into a livable space
Cleanest look
Works on uneven walls such as older homes with field stone walls
Most air and water tight of all options
Cons
Time consuming installation
Requires ventilation after installation for 24 hours before you can enter the space
Installing drywall is required to meet fire safety code
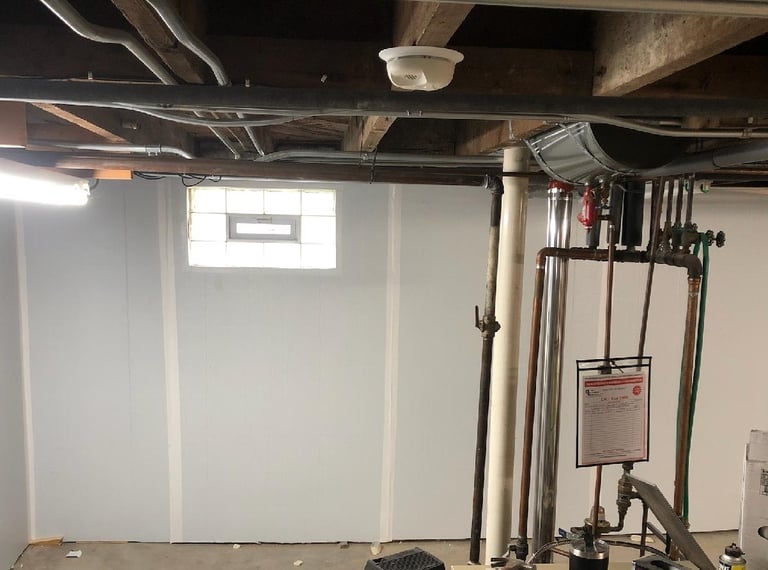

This basement wall is ready to be painted
Attic Insulation
Did you know?
9 out of 10 homes built prior to 2010 do not have the 16 inches of insulation between you and outside required by the Department of Energy
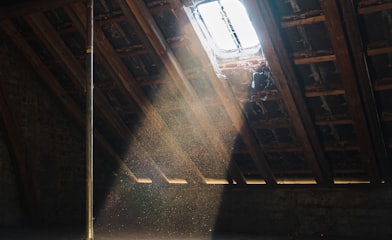
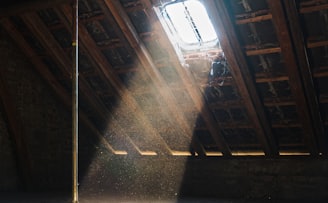
The Priority: Attic Gap Sealing
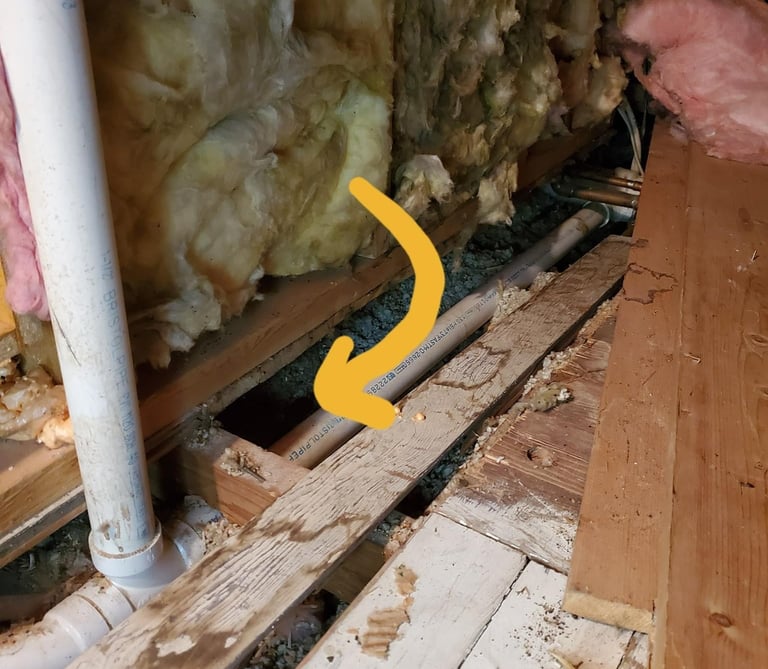
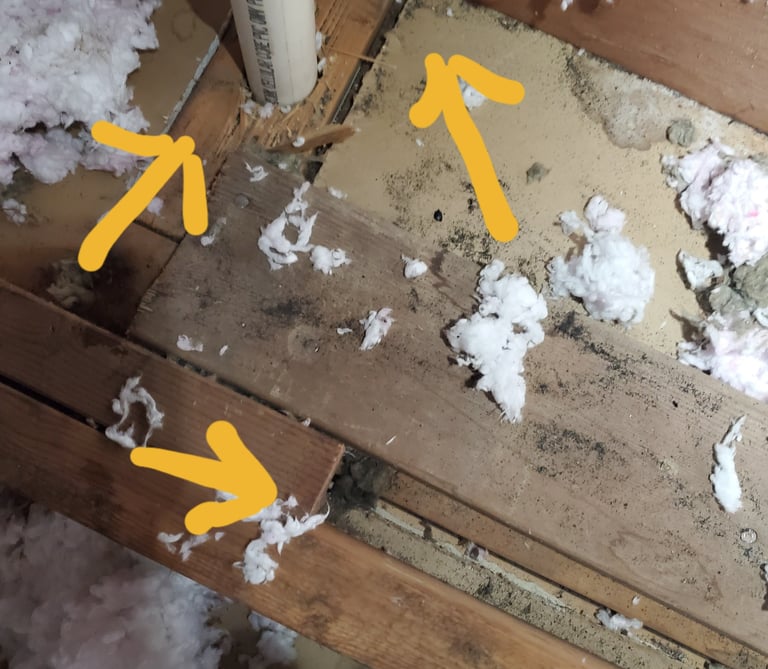
We start any attic project by sealing gaps like these before placing insulation. This step is crucial, and failure to do so can allow pests in and allow heat to escape even through insulation. Though they might look small, these types of gaps are often major areas of energy waste.


Blown-in Fiberglass/Cellulose — Attic Floors
Traditionally, attics have been mostly insulated with fiberglass batts or a thin layer of blown in insulation, if at all. Today, a specialized machine can evenly distribute either cellulose or fiberglass insulation into your attic to insulate it. We make sure that gaps are sealed before the process begins. Gaps are common around chimneys, soffit, and drop ceilings. We begin by making sure these gaps are closed and then we can blow in your insulation. This is a great option for attics that are not used or appropriate for living space, such as the attic of a ranch style home.
Pros
Uniform coverage
85% recycled content
Easier to fill hard to reach areas
Lasts the lifetime of the home unless it gets wet
Most eco-friendly material in the manufacturing process
Cons
Heavy equipment needed
More difficult to remove later than other options
More cleanup - creates dust when installed and if later disturbed
Can be a happy home to pests if they find a way in (fiberglass)

Spray Foam — Attic Rafters
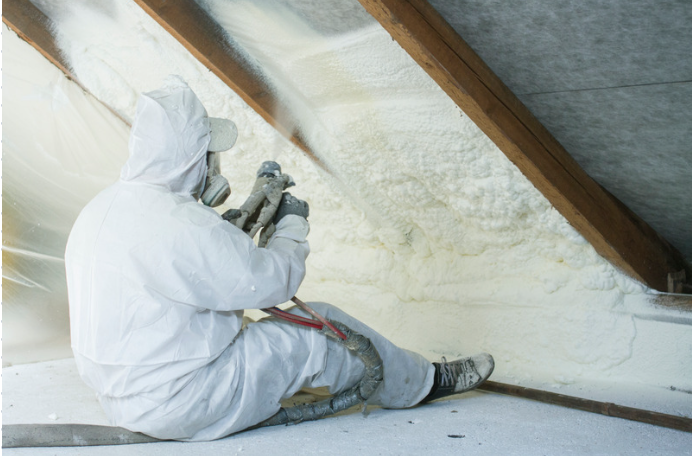
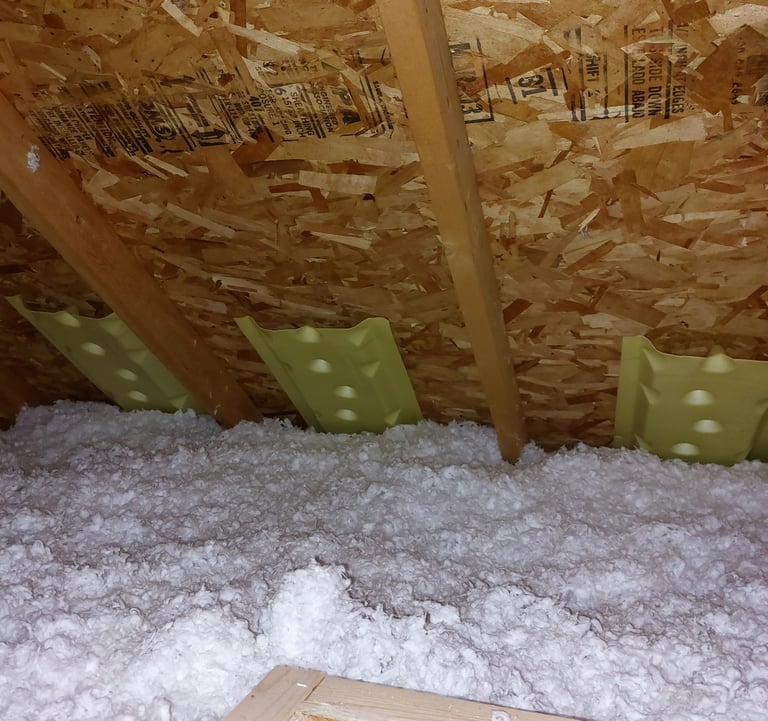
For attics that are livable spaces or wish to be used as living or storage space, using spray foam to insulate the rafters (or ceiling of the attic) can be a great option. This works best in attics that have decent access as the insulation team needs close proximity to where they are installing the spray foam. The final result creates a well-insulated and comfortable space.
Pros
Great option for livable spaces, no dust
Most effective at saving heat in winter and cool in summer
Prevents pests and pollutants
Lasts the lifetime of the home and is waterproof
Cons
Most expensive material
Requires a special barrier to be installed first
Takes longer to install
Requires a fire resistant barrier (such as drywall) to be installed
Rigid Foam — Attic Roof and Kneewalls
Some attics are eligible to have rigid foam installed. This can work well for livable spaces with good access. It can be placed on the roof line of a walk-up attic and/or kneewall crawl space attics. This is most common in bungalows.
Pros
Air tight insulation like spray or rigid prevents warm air from touching the back of the roof which may cause condensation and water issues
Helps keep house warm and less drafty
More cost effective than spray foam
Great for storage and livable space
Cons
Longest installation because of precision cutting around pipes and corners
Only certain attic types are appropriate for rigid foam
Most commercially available rigid foams are not fire safe -- solutions include covering drywall. We do have a brand that is fire and water safe and looks like drywall, perfect for attics and basements.


